Planning on making beeswax candles with essential oils? Don’t know where to start? Here’s all you need to know to get started!
Scented beeswax candles help create a cozy atmosphere with their warm, honey-like scent. There are numerous benefits to using them against other candle options.
In this article, I’ll share a step-by-step guide on how you can make beeswax candles with essential oils and provide some useful information for your first beeswax candle-making project.
Disclaimer: This post may contain affiliate links. This means I may earn a small commission (at no cost to you) if you sign up for a program or make a purchase using my link!
Related Posts:
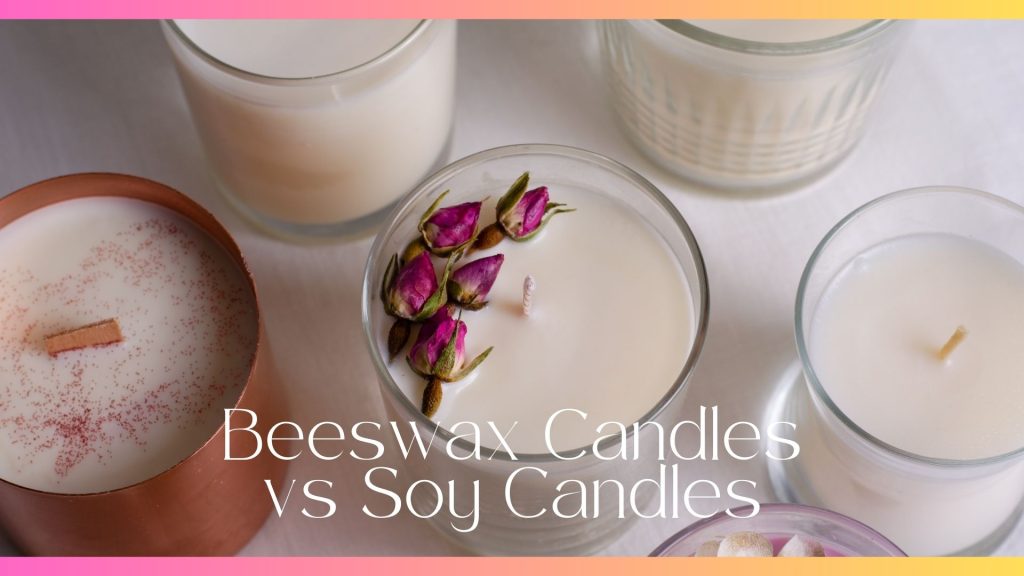
- Beeswax Candles vs Soy Candles
- Benefits of Beeswax Candles You Should Know
- Are Beeswax Candles Better Than Others?
What Are Beeswax Candles?
Beeswax is a natural product made by honeybees. When made into candles, it burns cleanly and doesn’t release toxins or soot into the air. It’s also known that beeswax candles can help purify the air by releasing negative ions that bind to toxins, removing them from your environment.
Unlike traditional paraffin candles, which are derived from petroleum, beeswax is sustainable and eco-friendly. It burns longer and brighter than other waxes, making it a more cost-effective choice in the long run.
What Are Essential Oils?
Essential oils are concentrated plant extracts that capture the natural aroma and beneficial properties of the plant. They are often used in aromatherapy and can enhance your mood, reduce stress, and improve overall well-being.
Read: Key differences between fragrance oils and essential oils
Choosing the Right Essential Oils
When selecting essential oils, consider the scent strength, therapeutic benefits, and how well they blend with other oils. It’s also important to ensure they’re safe for candle-making, as some oils can be flammable at high concentrations.
Start with a few drops of each oil and adjust until you find the perfect balance. Common combinations include lavender and vanilla for a soothing scent, or lemon and eucalyptus for an invigorating aroma.
Best Essential Oils for Beeswax Candles
Each essential oil offers different benefits for wellness and they can be blended to create a custom fragrance for your candles.
When making beeswax candles, choosing the right essential oils is key for a pleasant and long-lasting aroma.
Here are some popular blend choices for you to consider.
- Lavender: Known for its calming and soothing properties.
- Cedarwood: Offers a warm, woodsy scent that pairs well with the natural honey fragrance of beeswax.
- Peppermint: Provides a refreshing, invigorating aroma.
- Eucalyptus: Known for its refreshing and decongestant qualities.
- Lemon: Adds a fresh, clean scent that energizes and uplifts.
- Rosemary: Offers a robust, herbal fragrance that is both stimulating and refreshing.
- Vanilla: Creates a warm, sweet, and comforting aroma.
How To Make Your Own Beeswax Candles
Tools and Materials Needed
- Beeswax: You can find beeswax in pellets or blocks. Pellets are easier to measure and melt, but blocks can be more cost-effective.
- Essential oils: Choose high-quality, pure essential oils. Synthetic fragrances can have unwanted chemicals and don’t offer the same therapeutic benefits.
- Wick: Cotton wicks are a great choice for beeswax candles. Make sure to choose the right thickness based on the diameter of your container to ensure an even burn.
- Container: Any heat-resistant container will do, such as glass jars or metal tins. Just make sure it’s sturdy enough to handle the heat of the melted wax.
- Thermometer: A candle-making thermometer will help you monitor the temperature of the wax, ensuring it doesn’t overheat.
- Double boiler: This setup allows you to melt the beeswax gently without direct heat, preventing it from burning.
Preparing Your Work Area
Always work in a well-ventilated area and keep a fire extinguisher nearby. Beeswax is flammable, so never leave it unattended while melting.
Cover your work surface with newspaper or an old cloth to catch any spills. Have all your tools and materials within reach to make the process smooth and efficient.
Step-by-Step Guide to Making Beeswax Candles
- Melting the beeswax: Place the beeswax pellets or chopped blocks into the top of the double boiler. Heat gently until fully melted, stirring occasionally to ensure even melting.
- Adding essential Oils: Once the beeswax has melted, remove it from heat and let it cool slightly. Add your chosen essential oils, typically 20-40 drops per pound of beeswax, depending on the desired scent strength.
- Preparing the wick: While the wax is cooling, prepare your wick. Secure it to the bottom of your container using a dab of hot glue or a wick sticker. Wrap the top of the wick around a pencil or skewer laid across the top of the container to keep it centered.
- Pouring the wax: Slowly pour the melted beeswax into your container, leaving a little space at the top. Be sure to hold the wick in place as you pour.
- Setting the candle: Allow the candle to cool and harden completely, which can take several hours. Trim the wick to about 1/4 inch before lighting.
What Temperature to Add Fragrance Oil to Beeswax?
When adding fragrance oil to beeswax, it’s crucial to do so at the right temperature to prevent the oils from burning off. The ideal temperature is around 160°F (71°C).
After melting the beeswax and removing it from heat, let it cool to this temperature before adding the fragrance oil. This ensures the scent is well incorporated and preserved in the finished candle.
Creative Ideas for Customizing Your Candles
- Adding color: You can add natural colorants like mica powder or liquid candle dye to your beeswax for a splash of color.
- Using unique molds: Silicone molds can create various shapes and designs, adding a personal touch to your candles.
- Decorative elements: Consider adding dried flowers, herbs, or glitter to your candles for a decorative effect. Just be mindful that some additions can affect how the candle burns.
Common Issues in Candle-making
- Wick issues: If your candle is tunneling (burning down the center and leaving wax on the sides), try using a thicker wick. If it’s burning too quickly, the wick might be too thick.
- Scent throw problems: If your candle isn’t as fragrant as you’d like, you might need to add more essential oils. Be cautious not to exceed the recommended amount, as too much oil can affect how the candle burns.
- Uneven burning: Ensure your wick is centered and straight to avoid uneven burning. If the candle is burning unevenly, it may also help to trim the wick regularly.
How To Store & Care for Your Candles
Store your beeswax candles in a cool, dry place away from direct sunlight. This helps preserve the scent and color.
Before each use, trim the wick to 1/4 inch to ensure a clean burn. Keep the candle free of debris to avoid fire hazards.
Read: How to care for your candles the right way
Beeswax Candle Recipe with Coconut Oil
Here’s a simple recipe you can follow to make beeswax candles with coconut oil.
Ingredients:
- 1 pound of beeswax
- 1/4 cup of coconut oil
- Essential oils (optional, for fragrance)
- Cotton wicks
- Candle jars or molds
Instructions:
- Melt the beeswax and coconut oil together in a double boiler.
- Once melted, remove from heat and add essential oils if desired.
- Attach the wick to the bottom of your candle jar or mold.
- Pour the melted mixture into the container, holding the wick upright.
- Allow the candle to cool and harden completely before trimming the wick and using the candle.
How to Make Beeswax Candles from Honeycomb
Making beeswax candles from honeycomb is a simple and traditional method.
- Prepare sheets: Lay out honeycomb sheets and cut them to the desired size for your candles.
- Place wick: Lay a cotton wick along one edge of the honeycomb sheet, leaving about an inch at the bottom.
- Roll candle: Carefully and tightly roll the honeycomb sheet around the wick, applying even pressure to ensure a firm roll.
- Seal edge: Press the edge of the sheet to seal the candle.
- Trim wick: Trim the wick to about 1/4 inch at the top.
This method creates beautiful, natural-looking candles that highlight the honeycomb pattern.
Read: Step-by-step guide to make rolled beeswax candles
How to Make Beeswax Candles Burn Longer
To extend the burn time of beeswax candles, you should practice the following.
- Trim the wick: Keep the wick trimmed to about 1/4 inch before each use to ensure a clean burn.
- Burn time: Allow the candle to burn long enough for the wax to melt across the entire surface to prevent tunneling.
- Store properly: Keep candles in a cool, dry place to prevent softening or warping.
- Use a snuffer: Use a candle snuffer to extinguish the flame instead of blowing it out to reduce soot and smoke.
Benefits of Making Your Own Candles
Here are some benefits of making your own candles from scratch.
- Customization: Create candles in any shape, size, color, and scent according to your preference.
- Cost-effective: Save money by purchasing raw materials in bulk and avoiding the premium prices of store-bought candles.
- Quality control: Ensure the use of high-quality, non-toxic ingredients such as natural waxes, pure essential oils, and lead-free wicks.
- Creativity and personal satisfaction: Enjoy the creative process of designing and crafting unique candles.
- Perfect gifts: Handmade candles make thoughtful, personalized gifts for friends and family.
- Environmental benefits: Reduce waste by reusing containers and minimizing packaging.
- Therapeutic experience: Candle-making can be a relaxing and therapeutic exercise to calm you down.
Bottom Line
Making beeswax candles is a rewarding and enjoyable hobby – even more so when you add essential oils for a therapeutic experience at home. Beeswax candles offer unique benefits compared to soy candles or coconut candles and although they’re not always liked, you must acknowledge the uniqueness!
Whether you’re making candles for yourself or as gifts for loved ones, the process is quite straightforward. If you’re a candle-maker, offering scented beeswax candles can be a nice way to diversify your candle sales.
With every new product, make sure you test them out to achieve the best recipe that works for you!
Frequently Asked Questions (FAQs)
Yes, you can add essential oils to beeswax candles to impart fragrance. Essential oils should be added when the wax is at a lower temperature to preserve their aromatic properties. Beeswax has a high melting point, which helps retain the scent of essential oils effectively when the candle burns.
The number of drops of essential oil used in a beeswax candle can vary based on personal preference and the desired strength of fragrance. As a general guideline, for every ounce of beeswax, you can add approximately 30 to 40 drops of essential oil. Adjust the amount based on the specific scent intensity you want to achieve.
Coconut oil is often added to beeswax candles to enhance the candle’s texture and improve fragrance dispersion. It helps soften the beeswax, making it easier to blend with essential oils or other fragrance additives. Coconut oil also contributes to a smoother and more even burn of the candle, reducing tunneling and ensuring a longer-lasting scent throw.
Beeswax can be mixed with various oils or additives to create candles. Common additives include coconut oil, which improves texture and fragrance dispersion, and essential oils or fragrance oils for scent. Some candle makers also blend beeswax with other waxes like soy or palm wax to achieve specific burning characteristics or to adjust hardness and melting point based on environmental conditions.