Don’t know how to make wood wick candles of your own? Here’s a step-by-step guide and all the info you need to get started!
Just like any kind of art, the types of materials used in making candles can bring a huge difference. Wooden wicks are preferred by some thanks to the crackling sounds that you get when burning them. But if you can’t find one to purchase, you might just need to make one your own!
This should not only provide a rewarding hobby for yourself in the long run but you also get to customize candles with scents, colors, and sizes that you personally prefer.
In this article, I’ll be sharing my guide on how you can make wood wick candles that works just like any other candle. I’ve also included a list of materials you’ll need and answer some common questions around wood wick candles.
Disclaimer: This post may contain affiliate links. This means I may earn a small commission (at no cost to you) if you sign up for a program or make a purchase using my link!
Related Posts:
- How Long Do Candles Burn and What Is Burn Time?
- How To Use Scented Candles – 8 EASY Steps
- 5 Factors To Consider On How Much Fragrance Oil To Add To Soy Wax?
What Are Wood Wick Candles?
Wood wick candles are candles or scented candles that are made with wooden wicks. They don’t use cotton wicks like what you would typically find in the market.
These wood wicks are made of real wood like birch, rosewood, maple and even oak. Some are untreated and unwaxed (unlike cotton wicks) making them raw and safe from hazardous materials.
Some people may prefer wood wick candles as they are more aesthetically pleasing and burns with a crackling sound (can be interesting for some of us). The shades of brown when paired with a white wax gives a warm feeling, just like what you would expect from burning a candle.
8 Materials To Create Wood Wick Candles
You’ll need to gather materials that are quite similar to the ones used for cotton wick candles. The only thing that is different is the type of wick used.
Here are eight things you’ll need to get started!
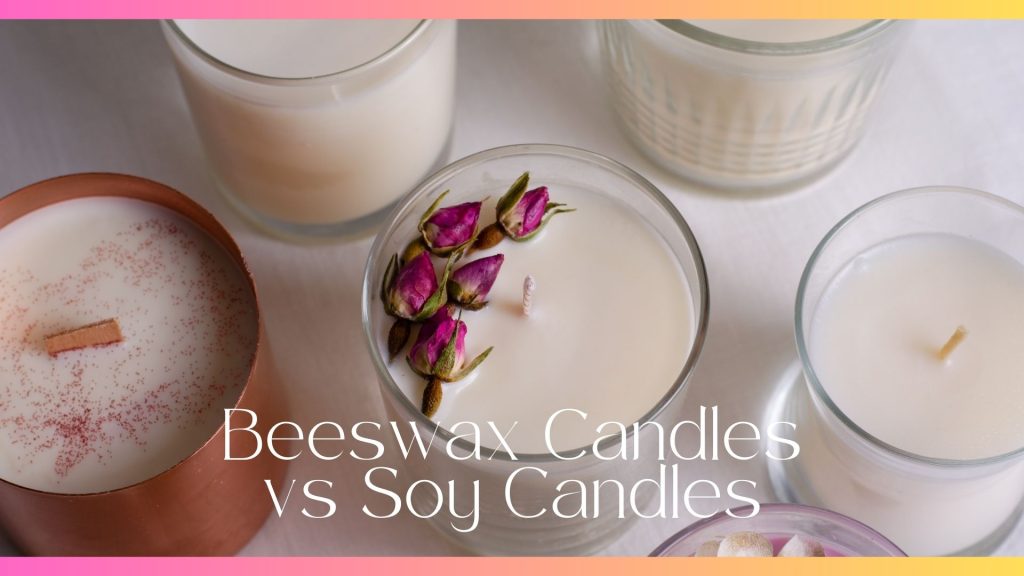
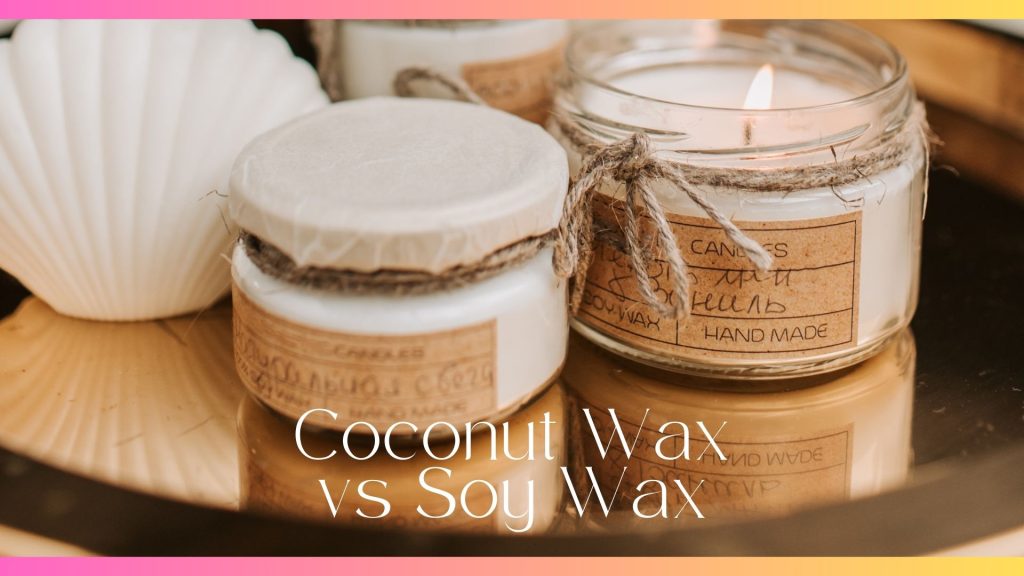
- Soy wax or beeswax: Choose between soy wax or beeswax for your candles. They have a cleaner burn compared to paraffin candles, makes sturdier products than just using coconut waxes and have excellent scent throw.
- Wooden wicks of preference: Decide on the type of wooden wick you’re going for. Ensure that it they are made of sustainably sourced wood with a gentle crackling sound when lit (you must test out).
- Fragrance oils: Wood wick candles are usually scented so you’ll need to select fragrance oils that complement the ambiance you’re going for – whether it’s floral, fruity, or woody notes.
- Candle dye or color chips: To make it even more fun, you can add color dyes or color chips to your candles. Colors will make it visually appealing and unique, to match the type of fragrance used.
- Containers: You’ll need a proper glass jar or tin to hold your finished candles. As wooden wicks are thicker than cotton wicks, large glass jars are typically used (about 3 inches in diameter).
- Double boiler or melting pot: To melt the wax, you’ll have to use a double boiler or melting pot for better safety.
- Thermometer: When adding other elements to your waxes, you’ll need to monitor the wax temperature accurately and ensure they’re added at the right temperature.
- Stirring utensil: It’s best to use a wooden spatula or spoon when stirring your candle waxes to add fragrance oils and colorants.
Side Notes On Materials Needed
- I don’t recommend using the microwave to heat your wax. Although it is possible, it requires heating them up in intervals until fully melted, which isn’t efficient.
- Amount of fragrance oil needed to make candles depend on the type of wax used but typically you’ll need it to be about 6%-12% of the wax amount.
- Colored candles can fade over time when exposed to UV light so unless that’s fine with you, you’ll need to add UV inhibitor to the mix.
Preparing Your Candle-Making Workspace
When making any types of candles, it’s important that you prepare a workspace that is clean, organized and well-ventilated. Candle making involves the use of heat and a variety of materials (wax, fragrances, colorants) so you’ll need to put your safety and comfort first.
If it’s the first time you’re making these candles and afraid of spillage, lay down newspapers or protective coverings on the table and floors (if needed). To streamline the crafting process and minimize movements as well as distractions, keep all the materials and equipment listed above within easy reach.
Step-by-step Guide On Creating Wood Wick Candles
Now that you’ve gathered your materials and prepared your workspace, it’s time to move onto the actual process of making the candles.
The detailed steps I’ve explained below should help you create the candles in a guided manner. If you’re making a single type of wood wick candle, it should take about an hour or two to finish the entire process – depending on how fast you can get it done.
- Measure the wax: Start by measuring the amount of wax you want to use using a digital scale. If you’re using the double boiling method, you’ll need to fill the steel jug adequately (leave some room and not entirely full).
- Melt the wax: Place the steel jug in a double boiler or a melting pot, and heat it gently over low to medium heat. You’ll need to stir using the wooden spatula and monitor the wax temperature using the thermometer. Aim for around 180-185°F (about 80°C) for soy wax and 160-165°F (about 70°C) for beeswax.
- Adding fragrance oils: Once the wax is fully melted (at the desired temperature), you should take it off the heat. Let it cool for a little (10°F less), then add your preferred fragrance oil and stir the mixture gently to ensure the fragrance is evenly distributed throughout the wax.
- Adding colorants to the wax (Optional): Once you’ve added the fragrance oils, you can add color dyes or color chips into the melted wax. Be sure to stir consistently until the color is evenly dispersed.
- Preparing the wick: It’s ideal that you prepare the wooden wicks when the wax is still being heated. You’ll need to trim the wick to a length that’s suitable for the jar you’re using. Leave about 1/4 inch above the wax surface to ensure a good burn. Use a wick holder or an adhesive tab to secure the wick in the center of the jar/container.
- Pouring the wax: Once the final wax mixture has cooled, you can carefully pour it into the prepared container or jar. Make sure that the wick remains centered after the pour – you can use a wick holder to keep it upright.
- Cooling and setting: Candles should be left to cool for several hours or overnight undisturbed. This ensures that the wax solidifies and forms a smooth top surface.
- Trimming the wick: Once the wax has solidified, you can cover the jar or containers with appropriate lids. Trim the wooden wicks to approximately 1/4 inch above the wax surface (if you haven’t already) using scissors or wick trimmers.
Side Notes To Know
- When adding color dyes to your waxes, it may not be obvious on what shade of color it will result to. It’s best to record your measurements and keep them as recipes to make frequent tests until you achieve the desired color shade. Candle colors are different when cooled!
- It’s more practical to add the fragrances and colorants once the jug is off the heat as it’s easier for you to manage. You will need to monitor the temperature to add these elements so you won’t want to do it in a rush.
- You can place the jars on top of a metal or aluminum tray that’s heated prior to ensure proper heat control so the wax is evenly poured throughout.
Bottom Line
Whether you’re planning to make handmade candles for yourself, a loved one or to start a side business, there are ways to make the candles truly yours. As a creative person, I love customizing products I use and that also involves candles.
One of the ways you can do so is by using wooden wicks that offers crackling sounds – as they are not like most candles you can readily find in the market. You should also look into the types of scents, colors and containers to go with your dream wood wick candle.
Hopefully, the guide I’ve provided above helps you in your candle-making journey!