Don’t know how to make rolled beeswax candles from scratch? Planning to start a business or just make them for yourself? Here’s all you need to know!
Unlike other candles, beeswax candles give a warm natural glow when lit and emits a sweet honey-like scent. It’s not for everyone, especially if you’re not into sweet scents and prefer candles that aren’t yellow in color.
To make things a little more fun, candle makers have taken a step further by exploring rolled candles alongside the typical jar and pillar ones. If you’re into making unique creations, then this one is for you!
In this article, I’ll be sharing my step-by-step guide on how you can make your own rolled beeswax candles. I’ve also included some insights on why I believe these candles are in demand and what you can do to make your candle-making process easier.
Disclaimer: This post may contain affiliate links. This means I may earn a small commission (at no cost to you) if you sign up for a program or make a purchase using my link!
Related Posts:
- How To Make Wooden Wick Candles From Scratch
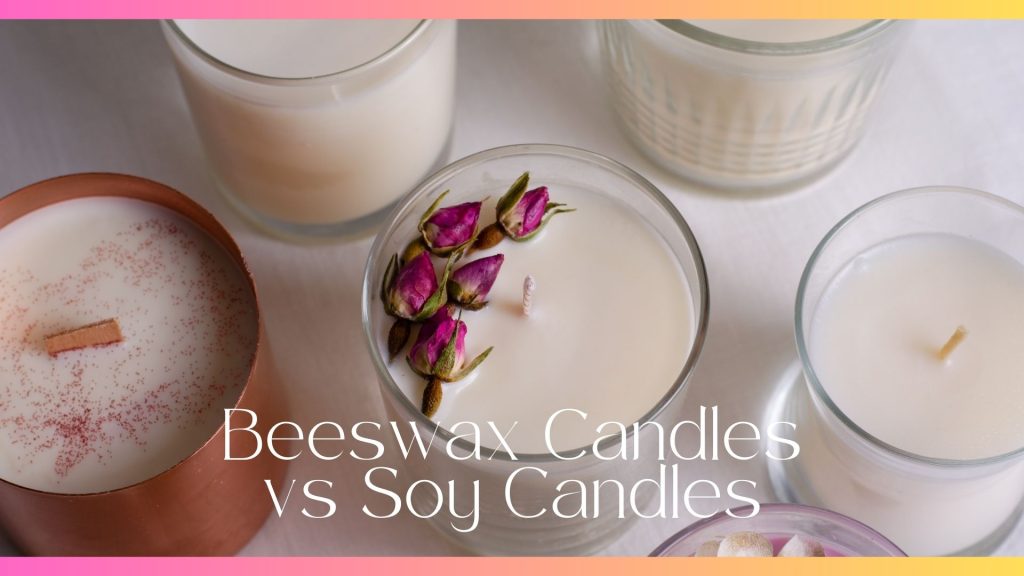
- 6 Things To Know: Beeswax Candles vs Soy Candles
- How To Care For Candles When In Use Or When Not In Use
Why Rolled Beeswax Candles?
If you’re new to candle-making, you probably want to know why the demand for beeswax candles is growing – at a fairly rapid pace. Just like soy candles or coconut candles, beeswax candles are a sustainable option for candle lovers – compared to buying mass-produced paraffin candles.
They burn cleaner and are non-toxic, which is what everyone should prioritize today. Beeswax candles can also be quite aesthetic thanks to the deep yellow color. Of course, there are always other colors of beeswax that you can go for if you love to play with colors, like I do!
Unsure why people want to make rolled beeswax candles? You should know that tapered candles are the OG of candles (at least where I grew up) and so, why not make similar looking ones with beeswax? BINGO!
Rolled beeswax candles also provides room for customization if you’re a creative candle seller that loves a good hands-on experience. Just bear in mind that beeswax is generally more expensive than the other kinds of waxes I’ve listed above. However, there’s always ways to make things work when you really want it to happen – so do it anyway.
8 Materials You’ll Need To Get Started
The journey of creating rolled beeswax candles begins with gathering the necessary materials. You will need:
- Beeswax sheets: Choose beeswax sheets in your preferred color and size. Larger sized ones are best for make taller rolled candles and you should pick one with a thickness that is suitable for rolling to ensure no cracking or breaking.
- Wick: Rolled candles typically needs a longer wick especially if you’re making taller candles (much longer than what’s required of jar candles). Make sure that it is long enough to extend the desired length of the candle.
- Melted wax (Optional): Some prefer to dip their wicks in melted wax prior to rolling as it allows the wick to stick better to the sheet.
- Parchment paper (Optional): To make your work more efficient and mess-free, place a parchment paper underneath the sheet so that it rolls effortlessly without sticking to any surfaces.
- Heat gun: It is advisable to use a heat gun to melt the ends of the beeswax sheet to make it stick better and stay intact. You can use a hair dryer if you don’t have a heat gun.
- Scissors: A pair of sharp scissors will come in handy when cutting beeswax sheets and wicks to your desired size.
- Extra embellishments (Optional): If you’re planning to make candles for a special event or occasion, you can add decorative elements such as dried flowers, herbs, or ribbon for a unique aesthetic appeal.
- Packaging: Once your rolled beeswax candles are ready, you’ll need a packaging to wrap them up. You can use a transparent plastic packaging or simply ropes to tie a few candles together for storage/sale.
Step-by-step Guide To Make Rolled Beeswax Candles
Before making any kind of candles or embarking on a candle-making process, you should ensure that your workspace or workstation is clean and safe to use.
Handling waxes whether cold or hot can be challenging especially as a beginner. To avoid any mess from potential spillage (if you’re using any melted wax), place protective layers on the table you’re using and even on the floors if needed.
As mentioned before, you can use parchment papers or cutting mats to prevent beeswax sheets from sticking on the surface. Stay organized by placing all materials and tools within easy reach, this should streamline the rolling process and minimize interruptions.
- Measure and cut the beeswax sheets: Start by measuring the sheets and cutting them to desired length and width that’s suitable for your rolled beeswax candle. Make it easier for yourself by marking the dimensions first before cutting them with scissors.
- Prepare your wick: Use one piece of wick for each candle. If they’re too long, cut them to a length that is slightly longer than the length of the beeswax sheet. Place the wick along one edge of the beeswax sheet and leave a small tail extending beyond the edge for easy rolling.
- Heat the edges: To make your wick stick better to the edge, heat the area with a heat gun or hairdryer for about 5 seconds before you fold it around the wick.
- Roll the beeswax sheet: After folding the wick in, you can start rolling the beeswax sheet until it meets the other edge. Start from the edge where the wick is positioned, ensure that the sheet rolls evenly and tightly. You can use a rolling pin or a ruler to smooth out the beeswax as you roll, remove any air bubbles or wrinkles.
- Seal the edges: Once you reach the end of the beeswax sheet, use the heat gun to heat that edge slightly (5 seconds across) so that it is more secured. Gently press when rolling over the edges so that the candle holds its shape.
- Trim the excess wick: It’s best to trim your wick to about 1/4 inch (common standard) or a length you’re comfortable with. This makes the candle burn better and looks better too!
- Add extra embellishments: Like I’ve shared above, you can make your candles look more aesthetic by adding decorative elements. Heat the area where you’re adding the deco using the heat gun and carefully press the embellishment onto the surface of the candle until it sticks well.
Important Notes On Making Rolled Candles
- You can use a heat gun or a normal hair dryer to heat up the ends of the beeswax sheet to make them stick better.
- Place parchment paper under your beeswax sheets when rolling them as it is non-stick and makes the process a lot easier (no mess!).
- If you’re planning to make larger or wider rolled candles, you’ll need to combine two beeswax sheets together or purchase a larger sheet.
- Place a ruler on one side of the sheet if you’re struggling to align the sheets when rolling and just follow the length of the ruler.
- You can dip your wick in melted wax prior to rolling it so that it sticks better to the sheet.
- To make a spiral candle, you’ll have to cut the beeswax sheet slightly on one side in a slanted manner. Make sure that one side is longer than the other. Then place your wick at the highest point in the sheet and roll it towards the shorter side.
Bottom Line
Crafting unique candles is a journey every new candle maker needs to embrace. Whether or not you’re a creative person to begin with, there’s always room to learn, get inspired and improve with candle making.
The step-by-step guide I’ve shared above should help you on buying materials to make rolled beeswax candles, as well as make your process a lot more straightforward. It doesn’t have to be complicated just because it sounds like it!