Don’t know how to make coconut shell candles? It’s quite a straightforward process but one that requires a lot of caution.
In this article, I’ll share more on how you can make your own coconut shell candles and what you’ll need to get started.
Disclaimer: This post may contain affiliate links. This means I may earn a small commission (at no cost to you) if you sign up for a program or make a purchase using my link!
Related Posts:
- Soy Candles vs Coconut Candles for Candle-making
- How To Make Coconut Wax Candles with Essential Oils
- How To Compare Coconut Wax to Beeswax for Candle-making
What are Coconut Shell Candles?
Coconut shell candles are candles that are made in a coconut shell. Usually, candles are either made to follow the shape of containers or to stand on their own e.g. pillar candles.
But to make coconut shell candles, you’ll need an empty coconut shell (from the fruit of a coconut tree) to be the one holding the coconut wax and shaping it. You can use any kind of wax like soy or beeswax, but it would make a lot of sense to use coconut wax for your coconut shell candles.
This is a great way to repurpose coconut shells into eco-friendly candles that would also make nice home decor. You’re doing your part to reduce waste by making use of an otherwise discarded material and instead of giving a luxurious aesthetic or minimalist look, coconut shells add a rustic charm to a space.
How to Make Coconut Shell Candles
Materials You’ll Need
To get started with coconut shell candles, you’ll need the following materials.
- Coconut shells: These are the base of your candles. You can use halves or whole shells depending on your design. Make sure they are stable and does not move when placed on a flat surface.
- Candle wax: Choose from various waxes like soy wax, beeswax, or paraffin wax.
- Wicks: Go for either cotton wicks or wooden wicks. Decide based on type of wax used and size of container.
- Fragrance oils (optional): You can either use fragrance oils or essential oils for a pleasant aroma.
- Tools and equipment: Including a double boiler, digital scale, thermometer, pouring pitcher and a metal spoon to stir.
Steps You’ll Need to Take
Follow these simple steps from start to finish to ensure a proper candle.
- Prepare your coconut shells: Clean the shell to remove any residue using a spoon and rinse it well. Sand the exterior of the shell to smooth out any rough edges and allow the shells to dry completely.
- Secure your wicks: Stick your wicks to the bottom surface of the coconut shell using a wick sticker. Make sure it’s upright and stable.
- Melt your wax: Use a double boiler to melt the wax gently until it reaches about 170-180°F (76-82°C). Monitor the temperature with a thermometer to avoid overheating.
- Add fragrance oils: Once melted, remove the wax from heat. At the right temperature, add fragrance oils (about 6-10% of total wax weight) and stir well.
- Add color dye: If you want colored candles, use candle dye or crayon shavings. Add these to the melted wax and stir until you achieve the desired color.
- Pour into the coconut shell: Pour melted wax slowly into the prepared coconut shell to prevent bubbles and leave some space at the top for trimming the wick later.
- Allow the candle to set: Let the wax cool for a few hours until harden completely and avoid moving the candles during this time to prevent imperfections.
- Trim the wick: Once fully set, trim the wick to about 1/4 inch above the surface of the wax. This helps prevent soot and ensures a clean burn.
Some Challenges to Know
Here are some problems you may face with coconut shell candle-making.
- Wax setting problems: If the wax shrinks or cracks, it may be due to rapid cooling. Try pouring at a slightly higher temperature or use a heat gun to smooth the surface.
- Wick issues: If the candle doesn’t burn evenly, the wick might be too small or too large. Test different wick sizes to find the best fit for your candles.
- Cracking of coconut shell: The coconut shells may crack when the wax is hot or when the candle is lit. So you’ll have to test your products slowly – monitor and take small steps.
Another thing about using coconut shells to make your candles would be the issue of whether it’s stable. It’s very important to make sure that your coconut shells can stand upright on its own without moving. This is to ensure your safety when you’re pouring the hot wax and for when you’re lighting the candle.
Make sure that the top surface of your wax is levelled when poured and only burn your candles on a stable levelled surface.
What Wax Should You Choose?
The type of wax you choose will affect the appearance, burn time, and scent throw of your candles.
Here are some popular choices:
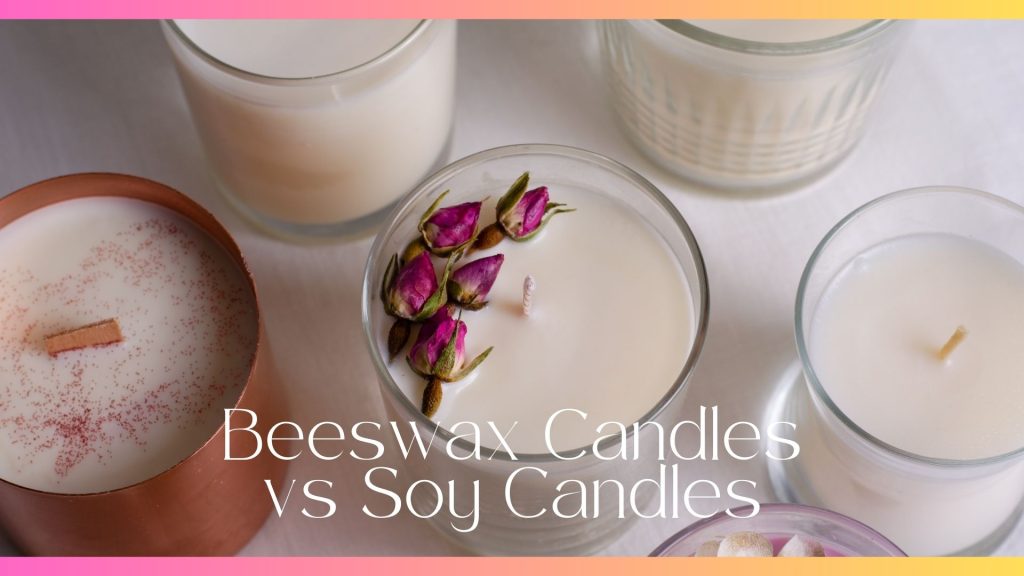
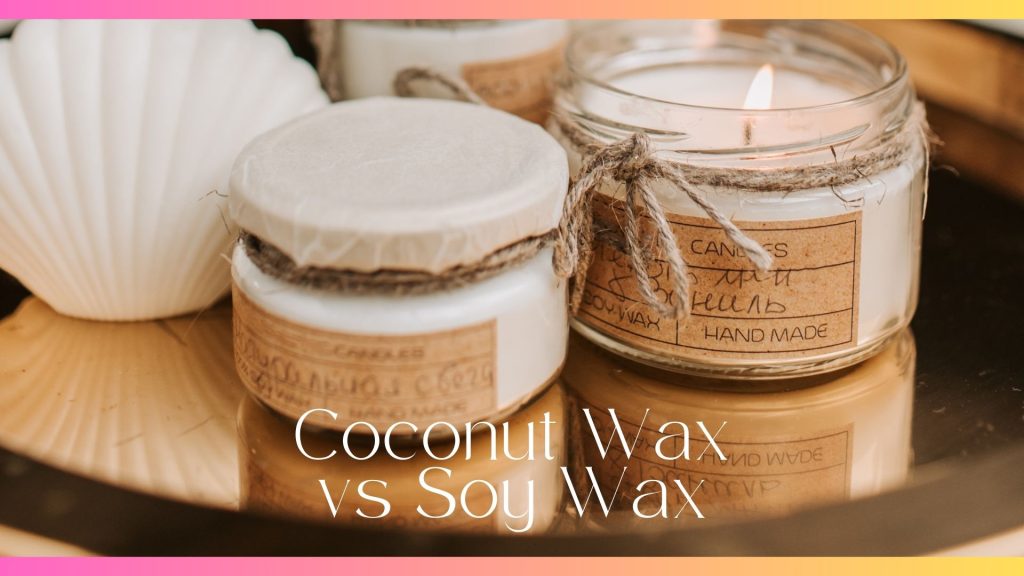
- Soy wax: A popular, eco-friendly choice that burns cleanly and evenly.
- Coconut wax: Strong scent throw and a sustainable alternative, but can be a little expensive.
- Beeswax: Known for its natural honey scent and warm yellow color. Beeswax offers a long burn time, but it’s not vegan and can be expensive to source.
- Paraffin wax: A versatile and cost-effective option, but not an eco-friendly option.
Each wax has its own set of advantages and disadvantages, so choose the one that best fits your needs and preferences.
Read: Coconut wax vs beeswax – what you should know
How to Make Coconut Shell Candles to Sell
Making coconut shell candles to sell requires the same steps as I’ve shared above. Just continue making candles and testing for you to find what works for you.
Once you’ve perfected your product, it should be good to sell. Make sure you calculate all the costs involved in making one unit and determine a good profit margin for the product. This can vary depending on your business and market, but ideally, your product cost should be about 30-40% of product selling price.
It’s best to start your small business with minimal setup costs or overhead, especially if you’re doing things by yourself and if you’re on a limited budget. I recommend selling your candles online first and building a social media presence by uploading content about your candles.
After making a few sales, you should know better on what to modify and what you should continue doing.
How to Make Coconut Shell Candles with Essential Oils
The steps I’ve shared above shows more on how you can make coconut shell candles using fragrance oil. The same process can be applied for when using essential oils.
However, it’s best to know the differences between fragrance oils and essentials oils when it comes to candle-making, as the final candle product will not be the same.
You should also read and follow the manufacturer’s guidelines for both the wax and the essential oil. Some essential oils may be too potent to be used for candles and some may require a different treatment.
Bottom Line
Making coconut shell candles is a rewarding and eco-friendly craft. By following these steps, you can create beautiful, personalized candles that add a touch of natural elegance to any space.
Whether you’re making candles for yourself or as gifts, the process is simple and can be enjoyable. With every different product used, it’s best to follow manufacturer’s guidelines, test and see what works for you.
Frequently Asked Questions (FAQs)
You can make candles in coconut shells, which offer a unique and eco-friendly alternative to traditional candle containers. To do so, start by thoroughly cleaning out the coconut shells and ensuring they are completely dry. Secure a wick to the bottom of the shell using a wick sticker or hot glue. Melt your chosen candle wax, such as coconut wax, in a double boiler, and if desired, mix in fragrance oils once the wax is melted. Pour the melted wax into the coconut shells, being careful to keep the wick centered. Allow the candles to cool and harden completely before trimming the wick. Proper preparation of the coconut shells and careful candle-making practices ensure that candles in coconut shells are both functional and aesthetically pleasing.
Making coconut candles at home involves several straightforward steps. Start by gathering all necessary materials, including coconut wax, wicks, containers (like jars or coconut shells), a double boiler, a thermometer, and optional fragrance oils. Begin by securing the wick to the bottom of your chosen container using a wick sticker or hot glue. Melt the coconut wax in a double boiler until it reaches about 170-180°F (76-82°C). If you are using fragrance oils, mix them into the melted wax at this stage. Pour the wax into the container, leaving some space at the top, and ensure the wick remains centered and upright. Allow the candle to cool and harden fully before trimming the wick to about ¼ inch above the surface. This process will yield well-made, beautifully scented candles.
Candles made in coconut shells can be safe if made with care and proper preparation. It is crucial to thoroughly clean and dry the coconut shells to avoid issues with residual moisture. Proper wick placement is essential to ensure it remains stable and centered during the pouring process, which helps in achieving an even burn. Using high-quality wax and avoiding overfilling the shell will help prevent spills and potential hazards. When following general candle safety practices, such as never leaving burning candles unattended and keeping them away from flammable materials, candles in coconut shells can be a safe and attractive addition to your candle collection.
Coconut wax is considered safe for candles due to its natural and renewable origins. Derived from coconut oil, coconut wax burns cleanly with minimal soot, which reduces indoor air pollution compared to paraffin-based candles. It does not emit harmful chemicals when burned, making it a safer choice for home use. Additionally, coconut wax is environmentally friendly and often sourced from sustainable practices, adding to its appeal as a responsible choice for candle-making. Overall, coconut wax offers both high quality and safety, making it an excellent option for those seeking eco-friendly and clean-burning candles.