Don’t know how to make beeswax candles with coconut oil? It’s pretty straightforward to get started.
Although candle-making sounds easy and fairly simple to do yourself, perfecting candles to get the best texture and look can be quite a journey for beginners.
In this article, I’ll share more on how you can make your own beeswax candles with coconut oil added and the materials you’ll need to start your project.
Disclaimer: This post may contain affiliate links. This means I may earn a small commission (at no cost to you) if you sign up for a program or make a purchase using my link!
Related Posts:
- Soy Candles vs Beeswax Candles – What You Should Know
- How To Make Beeswax Candles with Essential Oils
- Comparing Coconut Wax to Beeswax for Candle-making
What are Beeswax Candles?
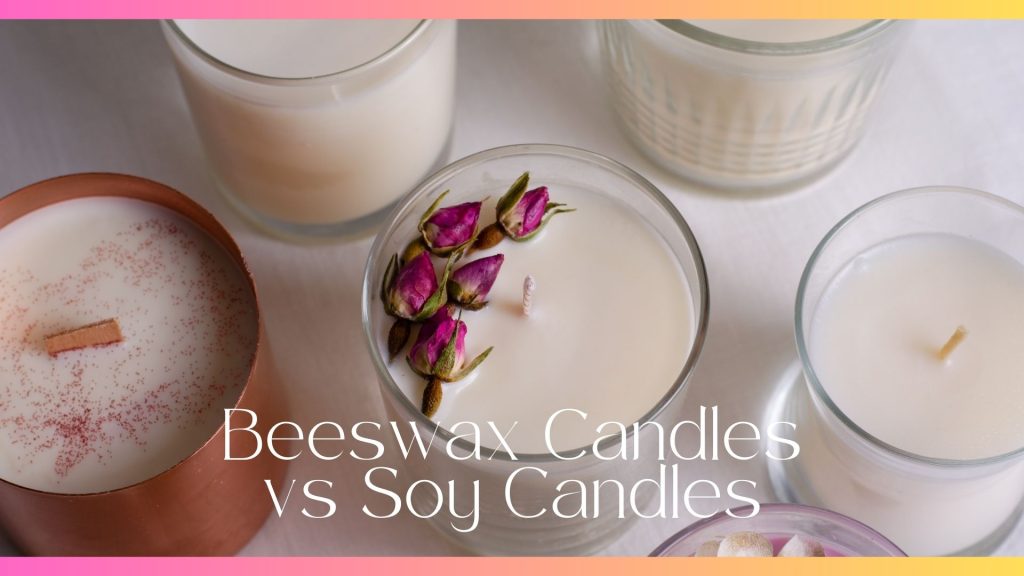
Beeswax candles are candles that are made using primarily beeswax. Although it is not vegan, beeswax is an eco-friendly alternative to paraffin wax candles and a sustainable one as they are made of natural resources.
Why Add Coconut Oil to Beeswax Candles?
Adding coconut oil to beeswax candles can enhance several aspects of the candle’s performance. Coconut oil helps to lower the melting point of beeswax, making it easier to pour and resulting in a smoother surface and better texture.
The blend also improves the candle’s burn quality, leading to a cleaner burn with less soot. This extra step also helps strengthening the candle’s scent throw, allowing the fragrance to be more evenly distributed when burned.
More advanced candle makers typically work with multiple wax blends instead of pure waxes to create a more stable candle. Combining coconut oil with beeswax balances the firmness and pliability of the candle, enhancing the burning experience.
What Kind of Coconut Oil for Candles?
For candle making, it’s best to use high-quality refined coconut oil rather than unrefined or virgin coconut oil. Refined coconut oil has been processed to remove impurities and odors, which helps to prevent any unwanted smells or cloudiness in the final product.
It has a higher smoke point, making it more suitable for the high temperatures involved in candle making. Refined coconut oil also has a more neutral scent, which is ideal for blending with other fragrances or essential oils without altering their profiles.
Benefits of Beeswax and Coconut Oil Candles
There are several benefits to creating beeswax candles with coconut oil added.
Here are three benefits you should know.
- Natural and eco-friendly: Beeswax is a natural byproduct of the honey-making process, and it’s biodegradable. Coconut oil, derived from coconuts, is a renewable resource. Together, they make a candle that’s environmentally-friendly and free from harmful chemicals.
- Long-lasting burn: Beeswax candles are known for their long burn time and it is further extended when combined with coconut oil. This way you’ll get more hours of enjoyment from each candle, making them more cost-effective.
- Pleasant aroma: Beeswax has a natural, subtle honey scent that is both soothing and pleasant. Coconut oil provides a stronger scent throw, making it possible for your added fragrances to be dispersed evenly when burning.
How to Make Beeswax Candles with Coconut Oil Added
Supplies and Materials You’ll Need:
- Beeswax: Use high-quality 100% pure beeswax for your candles.
- Coconut Oil: Choose 100% pure refined coconut oil for a cleaner burn.
- Candle Wicks: Cotton wicks are ideal, choose a size that matches the diameter of your container for an even burn.
- Containers: Select heat-resistant containers for your candles like glass jars or metal tins.
- Fragrance Oils (Optional): To add a personalized scent, use fragrance oils meant for candle-making.
- Digital scale: To measure the wax and fragrance oils for exact amount.
- Metal spoon: Used to stir the wax and fragrance oils for a balanced blend.
- Candle pitcher: Metal jug to hold wax while it melts using double boiling method and for pouring.
- Digital thermometer: To monitor temperature of the wax.
- Gloves and goggles: Always prioritize safety while making your candles.
Step-by-Step Instructions to Follow:
- Prepare your workspace: Set up a clean, flat workspace and add newspaper or a silicone mat to catch any spills.
- Measure your ingredients: Using a scale, measure the amount of beeswax needed for your containers. If you’re adding fragrances, measure them to be 6-10% of the total wax weight.
- Melt the beeswax: Melt the beeswax in a double boiler over a pot of simmering water and stir occasionally.
- Prepare the containers: While the wax is melting, prepare your containers by attaching the wicks to the bottom using a wick sticker.
- Add coconut oil: Once the beeswax is fully melted, remove it from heat and add the coconut oil. A common ratio is 4 parts beeswax to 1 part coconut oil. Stir gently until the mixture is well combined.
- Pour the wax: Slowly pour the wax mixture into your prepared containers, leaving a little space at the top.
- Let the candles settle: Allow the candles to cool and set completely for about 24 hours before moving them.
Best Wick for Beeswax/Coconut Oil Candle
The best wick for a beeswax/coconut oil candle depends on the candle’s size and the wax blend. Generally, cotton wicks with a larger diameter or wood wicks are ideal for beeswax and coconut oil blends.
Cotton wicks provide a stable, consistent burn, while wood wicks offer a cozy crackling effect and are often used for larger vessel candles.
Ensure the wick size is appropriate for the diameter of your candle container to achieve an even burn and avoid tunneling. Testing different wick sizes and types can help you find the best option for your specific blend.
Read: What are wicks made of?
Tips for Perfect Beeswax and Coconut Oil Candles
Here are some tips you should practice when making your beeswax-coconut oil candles.
- Ensure proper wick placement: Make sure they are properly centered for an even burn.
- Avoid air bubbles: Pour the wax slowly and at a steady temperature. If you notice bubbles, gently tap the container on the counter to release them.
- Ideal cooling conditions: Let your candles cool at room temperature. Do not place them in the fridge or freezer, as rapid cooling can cause the wax to crack.
These are some common issues you may face when making your candles and how you should deal with them.
- Sinkholes: Sinkholes can occur if the wax cools too quickly or if there are air pockets. If sinkholes do form, you can use a heat gun to gently melt the top layer of the candle and fill in the holes. It’s also advisable to pour the wax at a cooler temperature to avoid shocking it when it touches the jar.
- Tunneling: Tunneling happens when a candle burns down the center, leaving wax around the edges. You’ll have to burn the candle long enough the first time until the whole surface is melted to prevent this.
- Weak scent throw: If your candles scent is not strong enough, you will have to add more fragrance oil and ensure it’s the right amount for the size of your candle.
How to Make Scented Beeswax Candles
Unlike other waxes, beeswax has a distinct sweet scent of its own and some people may not prefer to add any fragrances to their beeswax candles.
However, some candle-makers may be using beeswax blends and/or may want to add fragrances to complement the original sweet scent. You can just add fragrance oils like vanilla or cinnamon to the melted beeswax by following the 6-10% fragrance load rule and adjusting it where needed.
How to Make Beeswax Candles with Essential Oils
Essential oils are quite the same to fragrance oils but there are some real differences between the two. Not all essential oils can be used for candle-making and you’ll have to read the manufacturer’s guidelines to know better.
Just follow the same steps I’ve listed above and use essential oils instead of fragrance oils.
Best Essential Oils for Beeswax Candles
When selecting essential oils for beeswax candles, opt for high-quality, pure essential oils that blend well with beeswax. Popular choices include lavender for relaxation, eucalyptus for a refreshing scent, and citrus oils like lemon or orange for a bright, uplifting aroma. Vanilla and cinnamon are also excellent for creating warm, cozy scents.
Consider using a combination of essential oils to create unique, customized fragrances. Ensure that the essential oils are suitable for candle making, as some oils may not blend well or can affect the burning characteristics of the candle.
Bottom Line
It may sound quite weird, but making beeswax candles with coconut oil added can be an interesting craft – even for beginners!
It’s always best to test your candles to find the best combinations. Not all candle-making products are the same so stick to what the manufacturer recommends.
Frequently Asked Questions (FAQs)
You can mix coconut oil with beeswax to make candles and it can be a great combination. Coconut oil adds a smooth, creamy texture and helps improve the burn quality of the candle. It also enhances the candle’s scent throw. Beeswax, on the other hand, provides a firmer structure and longer burn time. When blending these two, you might start with a 1:1 ratio or adjust according to your preferences. Experimenting with different proportions will help you find the perfect balance between the soft, smooth characteristics of coconut oil and the sturdy, long-burning properties of beeswax.
The ratio of coconut oil to wax for candles usually depends on the type of wax and the properties you want to achieve. A common starting point is to use about 5-20% coconut oil and 80-95% wax. For instance, if you are working with 1 pound of wax, adding 4 to 8 ounces of coconut oil can be a good baseline. This blend helps to improve the candle’s texture and burning qualities, but you might need to adjust the ratio based on whether you want a softer or firmer candle and how strong you want the scent throw to be.
To make a coconut and beeswax candle, first gather your materials: coconut oil, beeswax, a wick, a heat-resistant container, and a double boiler. Start by melting equal parts of coconut oil and beeswax in the double boiler until the mixture reaches 180-185°F (82-85°C). While the wax is melting, prepare your container by securing the wick to the bottom with adhesive. Once the wax mixture is ready, carefully pour it into the container, keeping the wick centered. Allow the candle to cool and harden completely for 24-48 hours before trimming the wick to about ¼ inch. This method will give you a candle with a nice blend of texture and performance from both ingredients.
Coconut oil is good for making candles. It has a low melting point, which makes it easy to work with and blend with other waxes. Coconut oil contributes to a smooth, creamy texture and enhances the candle’s burn quality by reducing soot and promoting a cleaner burn. It also helps in improving the fragrance throw when combined with other waxes. However, since coconut oil alone is quite soft, it is often blended with other waxes like soy or beeswax to achieve a balanced firmness and optimal performance for the candle.


