If you’re wondering how long do candles burn, you’ll first need to know the factors affecting its burn time. Here’s four basic factors to understand!
Burn time varies for every kind of candle you’ll stumble upon with some burning longer and shorter than others. From tea lights to pillar candles, the duration of a candle’s flame varies depending on multiple factors. If you’re a candle maker or just curious of how candle works, then burn time is a major thing you’ll need to learn.
In this article, I’ll be sharing four factors that affect a candle’s burn time and how long you should burn your candles (for every use).
Disclaimer: This post may contain affiliate links. This means I may earn a small commission (at no cost to you) if you sign up for a program or make a purchase using my link!
Related Posts:
- How Do Scented Candles Work? 4 Things To Know
- How To Use Scented Candles – 8 EASY Steps
- 5 Factors To Consider On How Much Fragrance Oil To Add To Soy Wax?
4 Factors Affecting Burn Time
As mentioned above, there are several factors that affect a candle’s burn time. We’ll look into the basic ones you need to know as each variable contributes to the duration of a candle’s flame. This includes wax type, wick size, ambient conditions, and candle design.
These factors are essential for the average candle user to estimate a candle’s longevity and optimize its use. Make your money’s worth!
1. Type of wax used
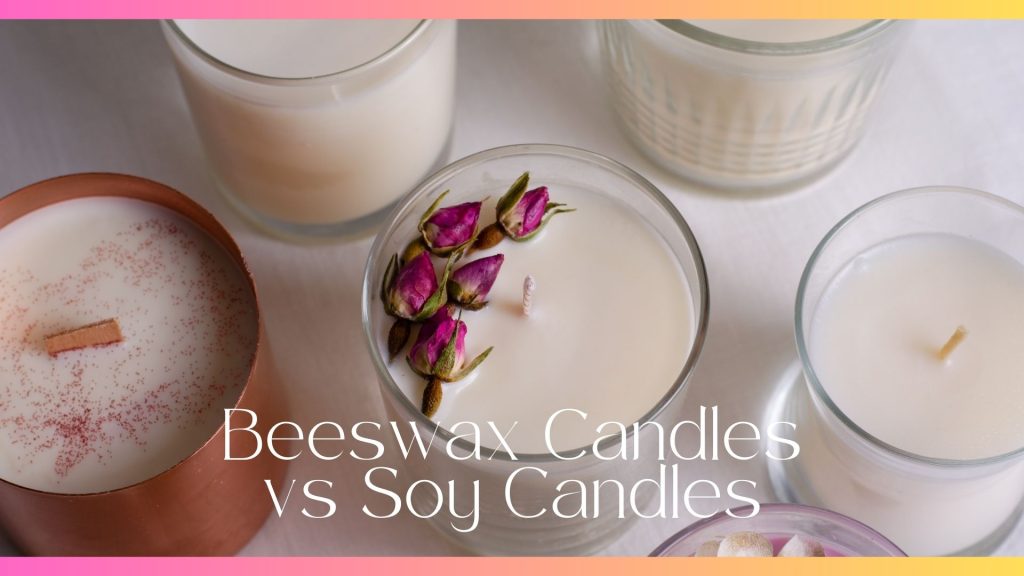
Some waxes burn relatively quicker than others – this is true for paraffin waxes, compared to soy wax and beeswax. The two more sustainable alternatives burn more slowly and evenly due to their lower melting points and denser compositions. A wax’s composition and purity affects how efficiently it is consumed by the flame, which will greatly influence burn time.
Want the most hours with your candle? Get soy candles or beeswax candles instead, as not all waxes are the same!
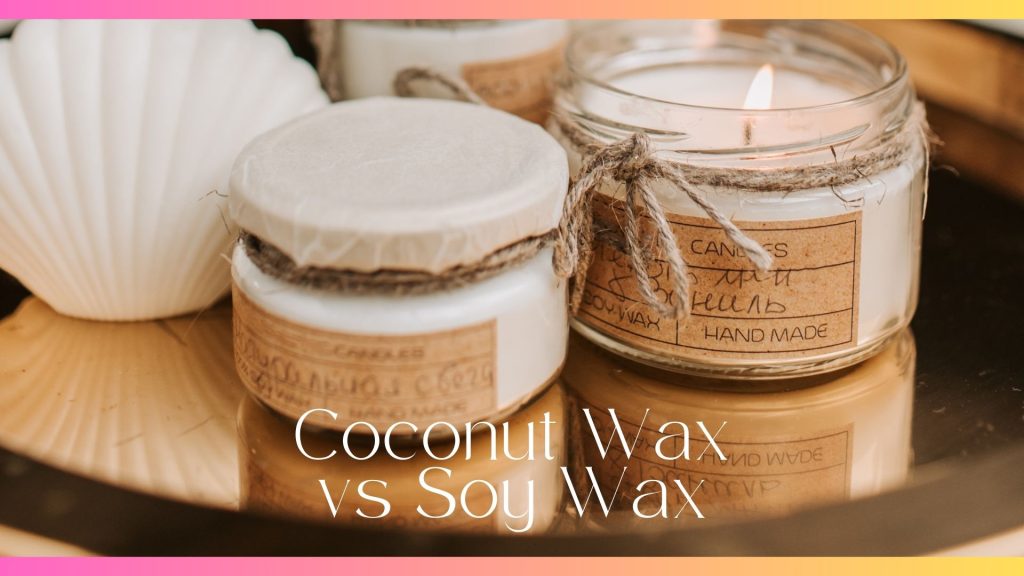
You’ll have to bear this in mind when buying or making your candles from scratch. It is also wiser to use alternative waxes like soy, beeswax and coconut wax as they’re environmentally friendly and non toxic – compared to traditional paraffin candles. I’ve explained more in a separate article.
2. Size of a candle’s wick
This is probably one of the things a candle maker needs to master ASAP. When optimizing candles and identifying their burn time, you need to ensure that the right wick size is used – and there are just too many sizes to look into!
If you didn’t know, the diameter and composition of a candle’s wick also plays a crucial role in determining its burn time. Thicker wicks typically result in larger flames and faster candle burning rates, while thinner ones produce smaller, more controlled flames that leads the candles to burn more slowly.
Although most people use cotton wicks for their candles, it is important to understand that wicks made from different materials can affect burn time and the overall quality of a candle’s burn. So burn time varies with using cotton or wood wicks and to achieve optimal candle performance (maximizing burn time), proper wick selection is needed.
As a candle maker, it’s more practical to stick with one type of candle and candle size in the beginning as ideally, you’ll need to test out every product with different wicks to find one that suits it best. It’s time consuming but if you’re tight on funds, you can’t be spending too long finding what works for everything – make things easy for yourself!
3. Surrounding conditions when in use
Burning the same candles in two different environments may result in different burn times. Many underestimate this but environmental factors such as temperature, humidity, and airflow could impact a candle’s burn time.
Generally, candles burn more quickly in warmer environments because the wax is easily liquefied and vaporized when absorbed by the wicks. Inversely, burning candles in cooler temperatures would slow down its burning process. If you’re using scented candles, expect the scents to disperse slower and linger for longer in colder environments.
Using this logic, a candle’s burn time would be different at night and in the morning!
Aside from temperatures and humidity, drafts or gusts of air can also cause candles to burn unevenly or extinguish prematurely. It would be ideal if you could control ambient conditions as it greatly helps prolong the life of a candle and ensure a consistent burn throughout its use.
This is even more important for your first burn – more explanation down below.
4. Design and shape of candles
After explaining the three things above, it would only make sense that a candle’s burn time would be effectively affected by its design and shape.
Slender shaped candles like taper candles burn more quickly than wider pillar ones and even jar candles. They have less wax to consume per unit of time as we usually measure burn time based on an inch of a candle’s diameter. Thinner or slender candles are smaller in diameter compared to wider container ones!
Unsure what that means? In the simplest terms, thinner candles would burn faster and the wax is easily consumed as it melts vertically quicker than wider candles (melts horizontally).
If you’re a fan of scented candles, which I am, then you should know that the presence of additives such as fragrance oils or essential oils will alter combustion properties of the wax and/or wick. So a scented soy-based candle with a cotton wick will burn differently than a non-scented one.
Aside from that, colorants and candle dyes can also affect burn time. Don’t know how to measure a candle’s burn time with all these varying factors? Like I’ve mentioned above, limit your variables to one or two when starting out to easily assess burn time and predict them faster with any changes.
How Long Should You Burn A Candle?
These are just guidelines on how long you should burn a candle for first time use and subsequent uses.
- First Burn: Allow the candle to burn for enough time to create a full melt pool across the entire top surface of the candle and avoid tunneling (when the candle burns down the middle and leaves wax on the sides). It typically takes about 1 hour per inch in diameter. So, if your candle is 3 inches wide, you’ll need to allow it to burn for about 3 hours to achieve full melt pool during the first burn.
- Subsequent Burns: It’s equally important that subsequent burns last long enough to also prevent any tunneling issues. Usually, waxes melt faster after the first burn so using the same example, you’ll need less than 3 hours to achieve full melt pool for a candle that’s 3 inches wide. This also depends on the size and type of candle.
To prevent excessive smoking, trim the candle’s wick to about 1/4 inch before each burn. This also helps ensure an even burn throughout.
It’s always best that you refer to manufacturer’s instructions when using a specific candle. Always follow any instructions provided by the manufacturer themselves, as different types of candles may have different recommended burn times.
Be sure to never leave your burning candles unattended. Keep them away from flammable materials, drafts and far from reach of children and pets. Burn safely!
How Burn Time Works
To make it simpler for you to understand, a candle’s burn time is directly determined by their consumption of wax and the candle’s flame size. These two are mainly affected by factors like wax composition, wick size and surrounding conditions – like I’ve explained above.
Once the wick is ignited, the flame will generate heat which should cause the surrounding wax to melt and form a pool of liquid wax. This happens at the top of the candle’s surface first, from the center to the sides.
The molten wax is later absorbed and travels up the wick, where it is then vaporized, producing heat, light and additional wax vapor. If the candle is scented, you will also get to smell the aromatic scents after some time of burning.
Best Practices For A Good Burn
Aside from knowing what affects a candle’s burn time, it’s also important that you maintain proper care for your candles to maximize their lifespan and ensure optimal performance for every burn.
To prevent excessive smoking and mushrooming, trim a candle’s wick to a proper length (around 1/4 inch) before each use. This allows for a cleaner, more efficient burn – which is especially important when using in small indoor areas.
You should also avoid burning a candle for too long and not exceed recommended durations for each burn. This helps to extend the life of a candle and minimize waste (eco-friendly!). When not in use, ensure that your candles are placed in a cool, dry place that does not get direct sunlight – this should help preserve the integrity of the wax!
Frequently Asked Questions (FAQs)
You should let a candle burn for a few hours when using it for the first time to create a full melt pool across the top surface. As it usually takes about 1 hour to melt per inch in diameter, you’ll need to burn the candle for about 3 hours if it is 3 inches wide, for the first burn.
Bottom Line
Determining a candle’s burn time isn’t as easy as you might think. If you’re an individual that loves using candles, you will now learn to appreciate the art of candle making.
If you’re a candle maker or an aspiring one, just know, that the journey is still a long one to go and it’s okay to take one step at a time!
Understanding the science behind burn time should allow you to make better decisions in choosing the right ingredients for your candles and help you use candles the right way.